Importing Contacts
This guide walks you through the process of importing contacts from a CSV file into SendSquared.
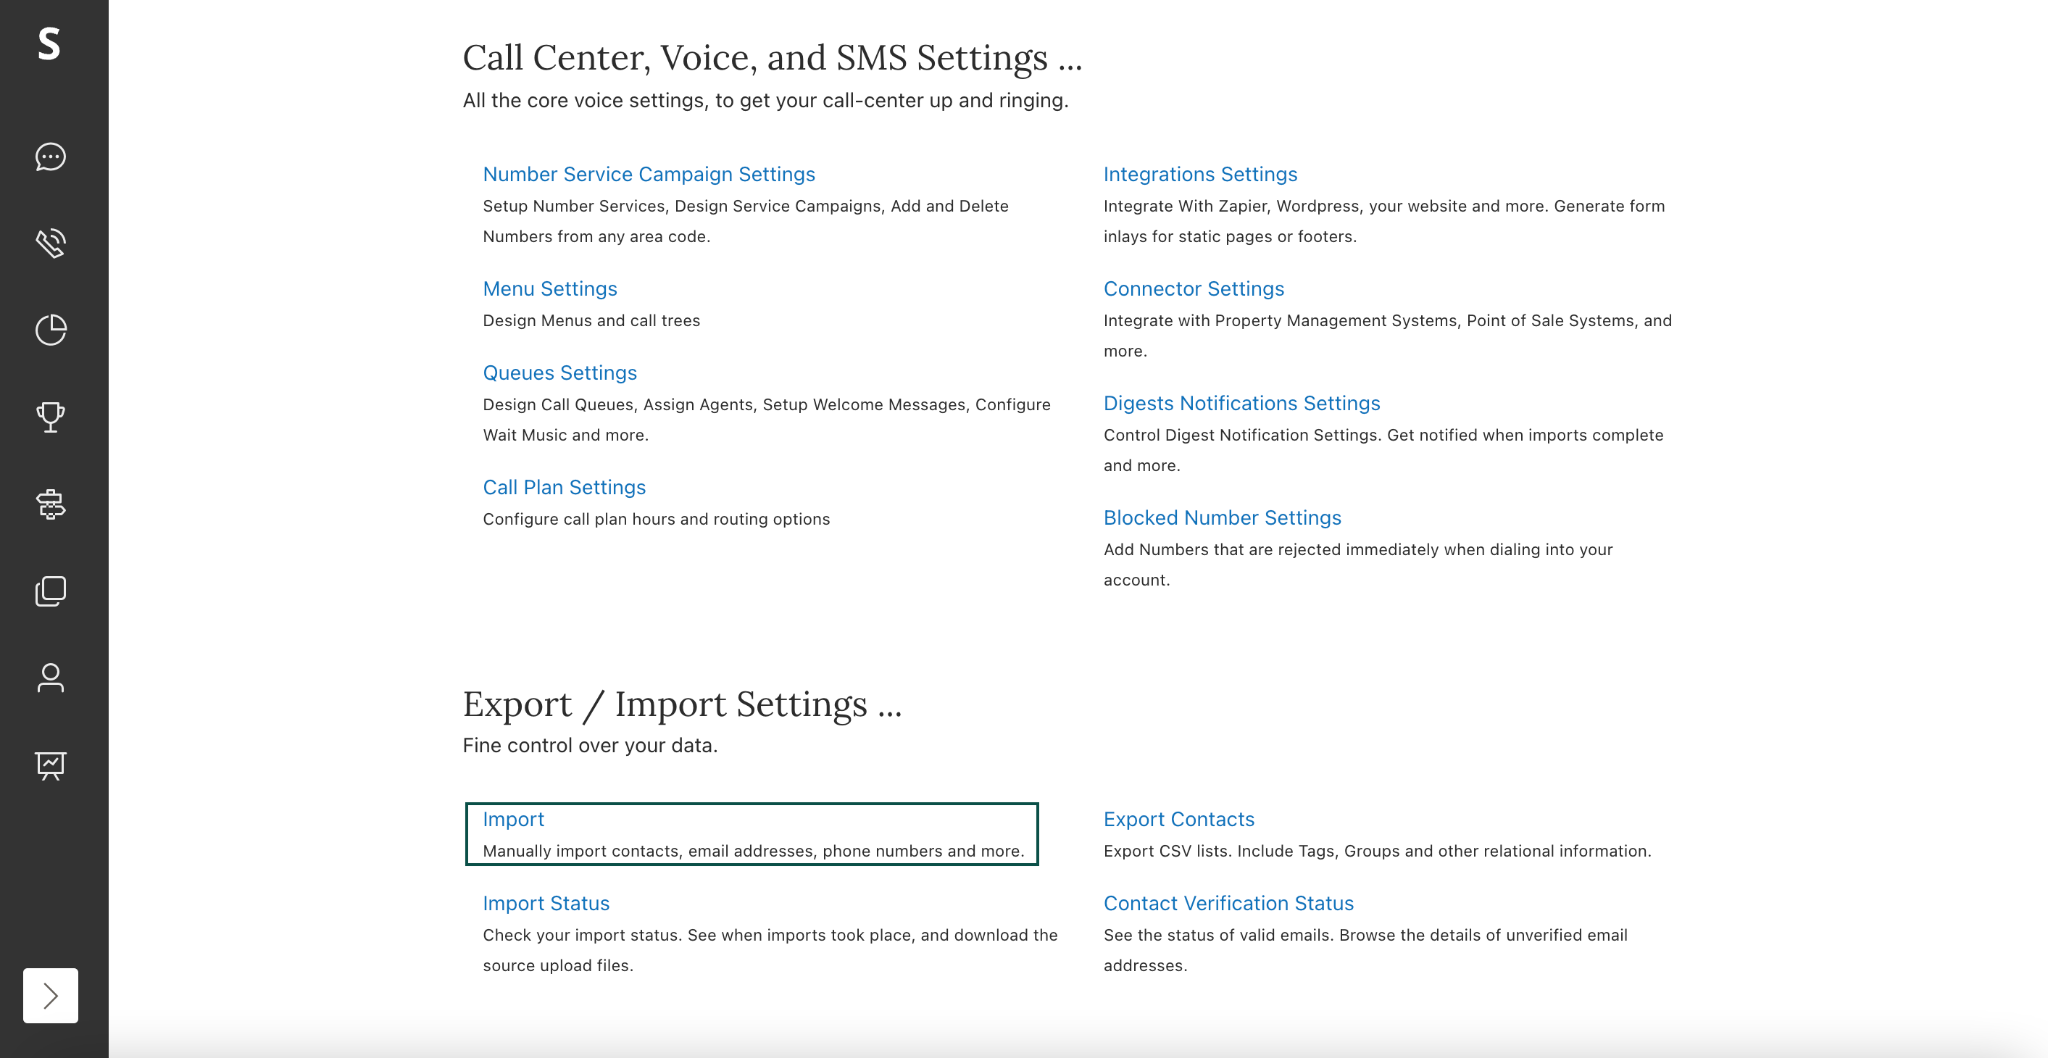
Accessing Import Settings
To begin importing contacts:
- Click on the profile icon in the upper right corner
- Select Global Settings from the dropdown menu
- Scroll to the bottom of the page
- Select Import
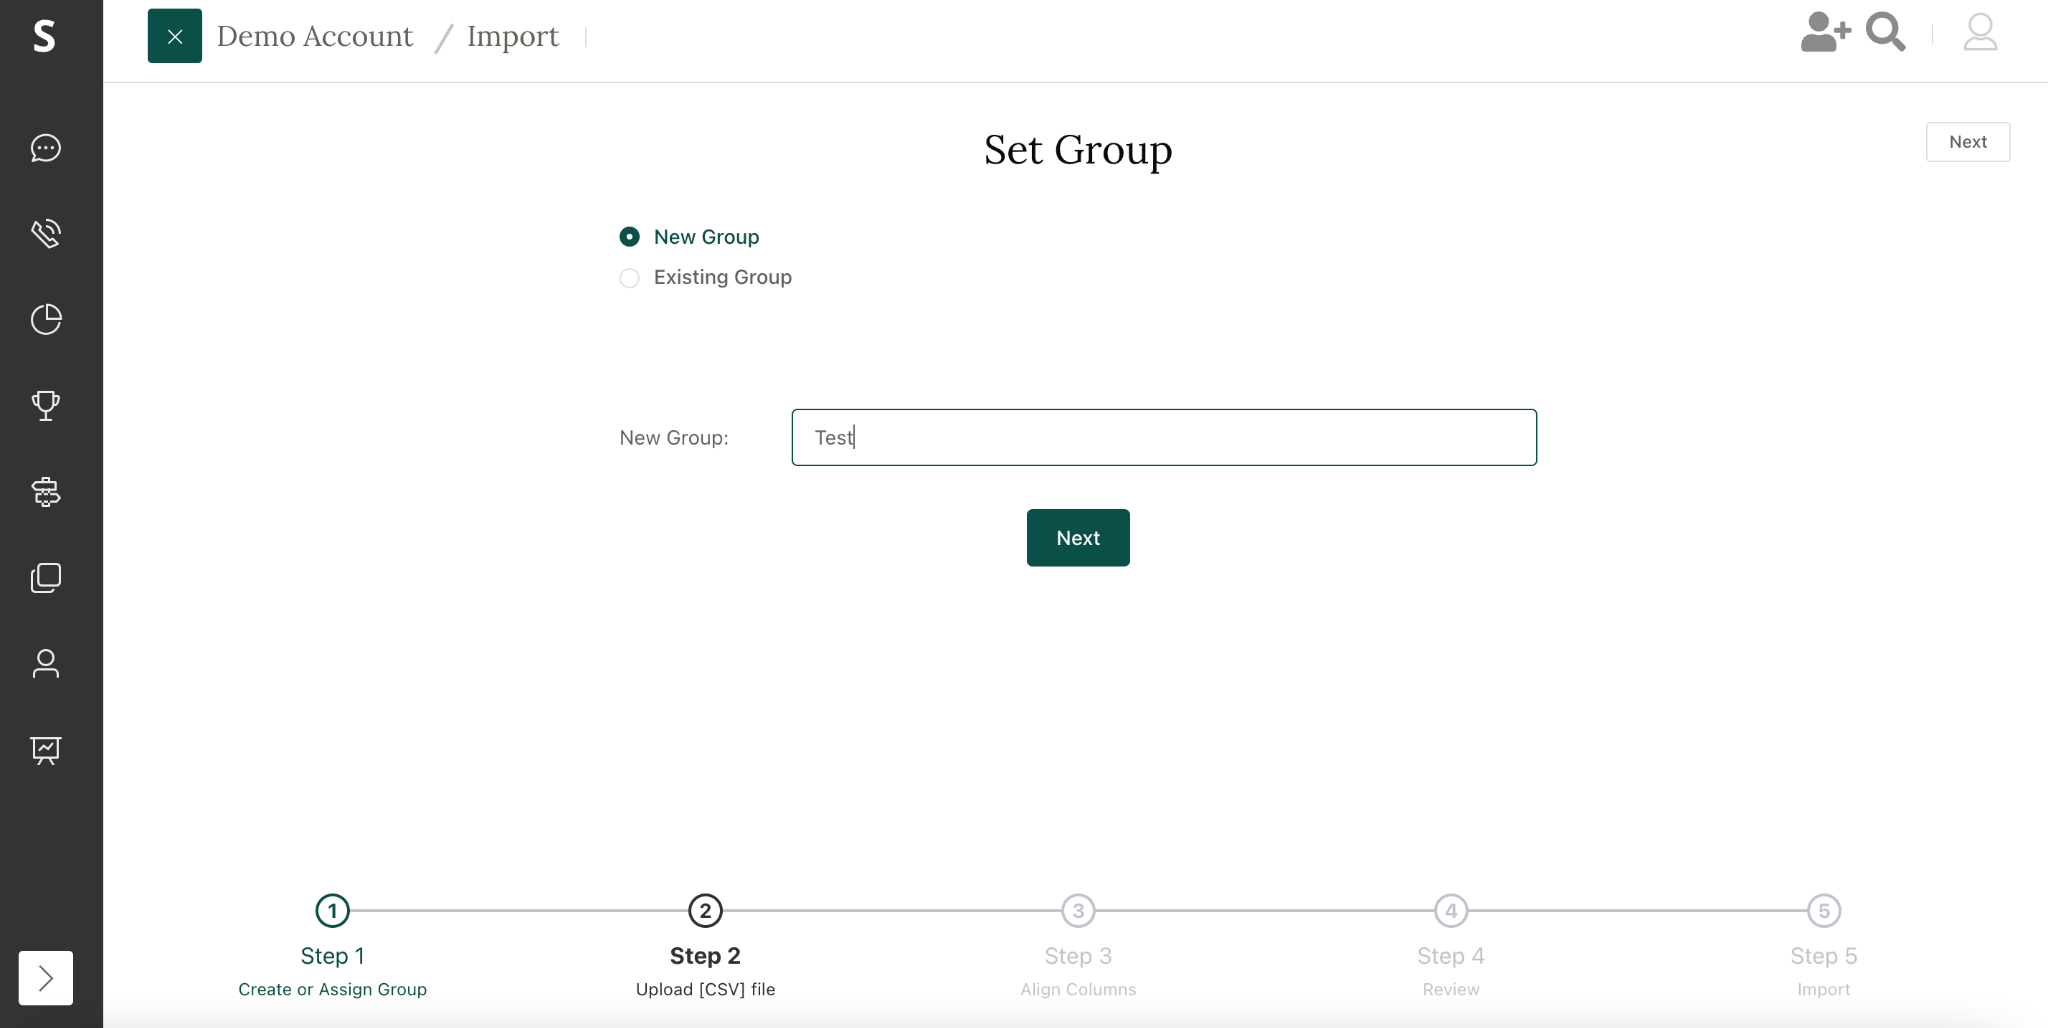
Creating a Contact Group
After accessing the import settings, you'll need to specify where your contacts will be stored:
-
Choose one of the following options:
- Create a new group: Create a fresh contact group for the imported contacts
- Add to an existing group: Add the imported contacts to a group you already have
-
If creating a new group, enter a name for the group in the field provided
-
Click Next to proceed
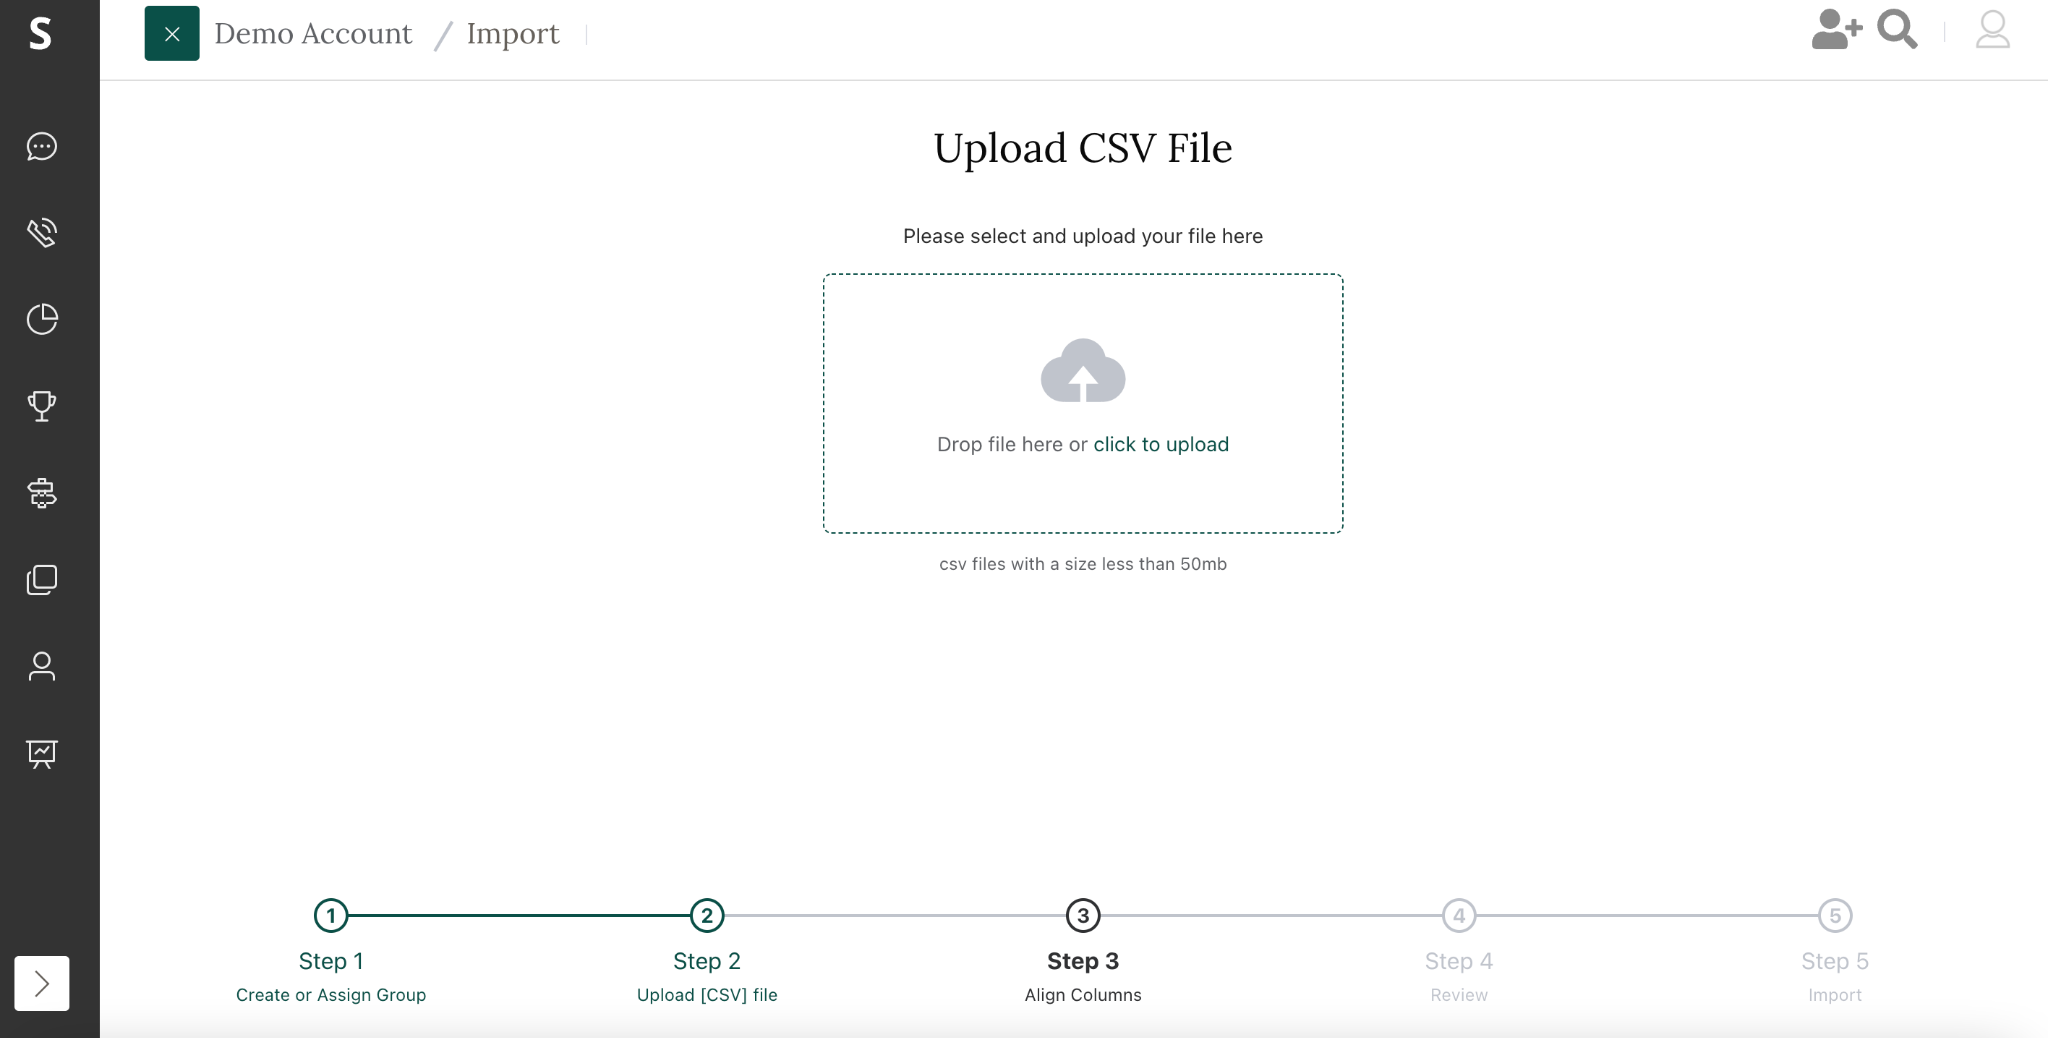
Uploading Your CSV File
Next, you'll upload your contact data:
Important: SendSquared only accepts CSV (comma-separated values) files for contact imports. Other file formats such as Excel (.xlsx, .xls), text files (.txt), or database files are not supported. If your contacts are in another format, please convert them to CSV before attempting to import.
- Click the upload area or drag your CSV file into the designated area
- The system accepts comma-separated values (CSV) files
- Ensure your file is under 50mb in size
- Click Next after the file uploads successfully
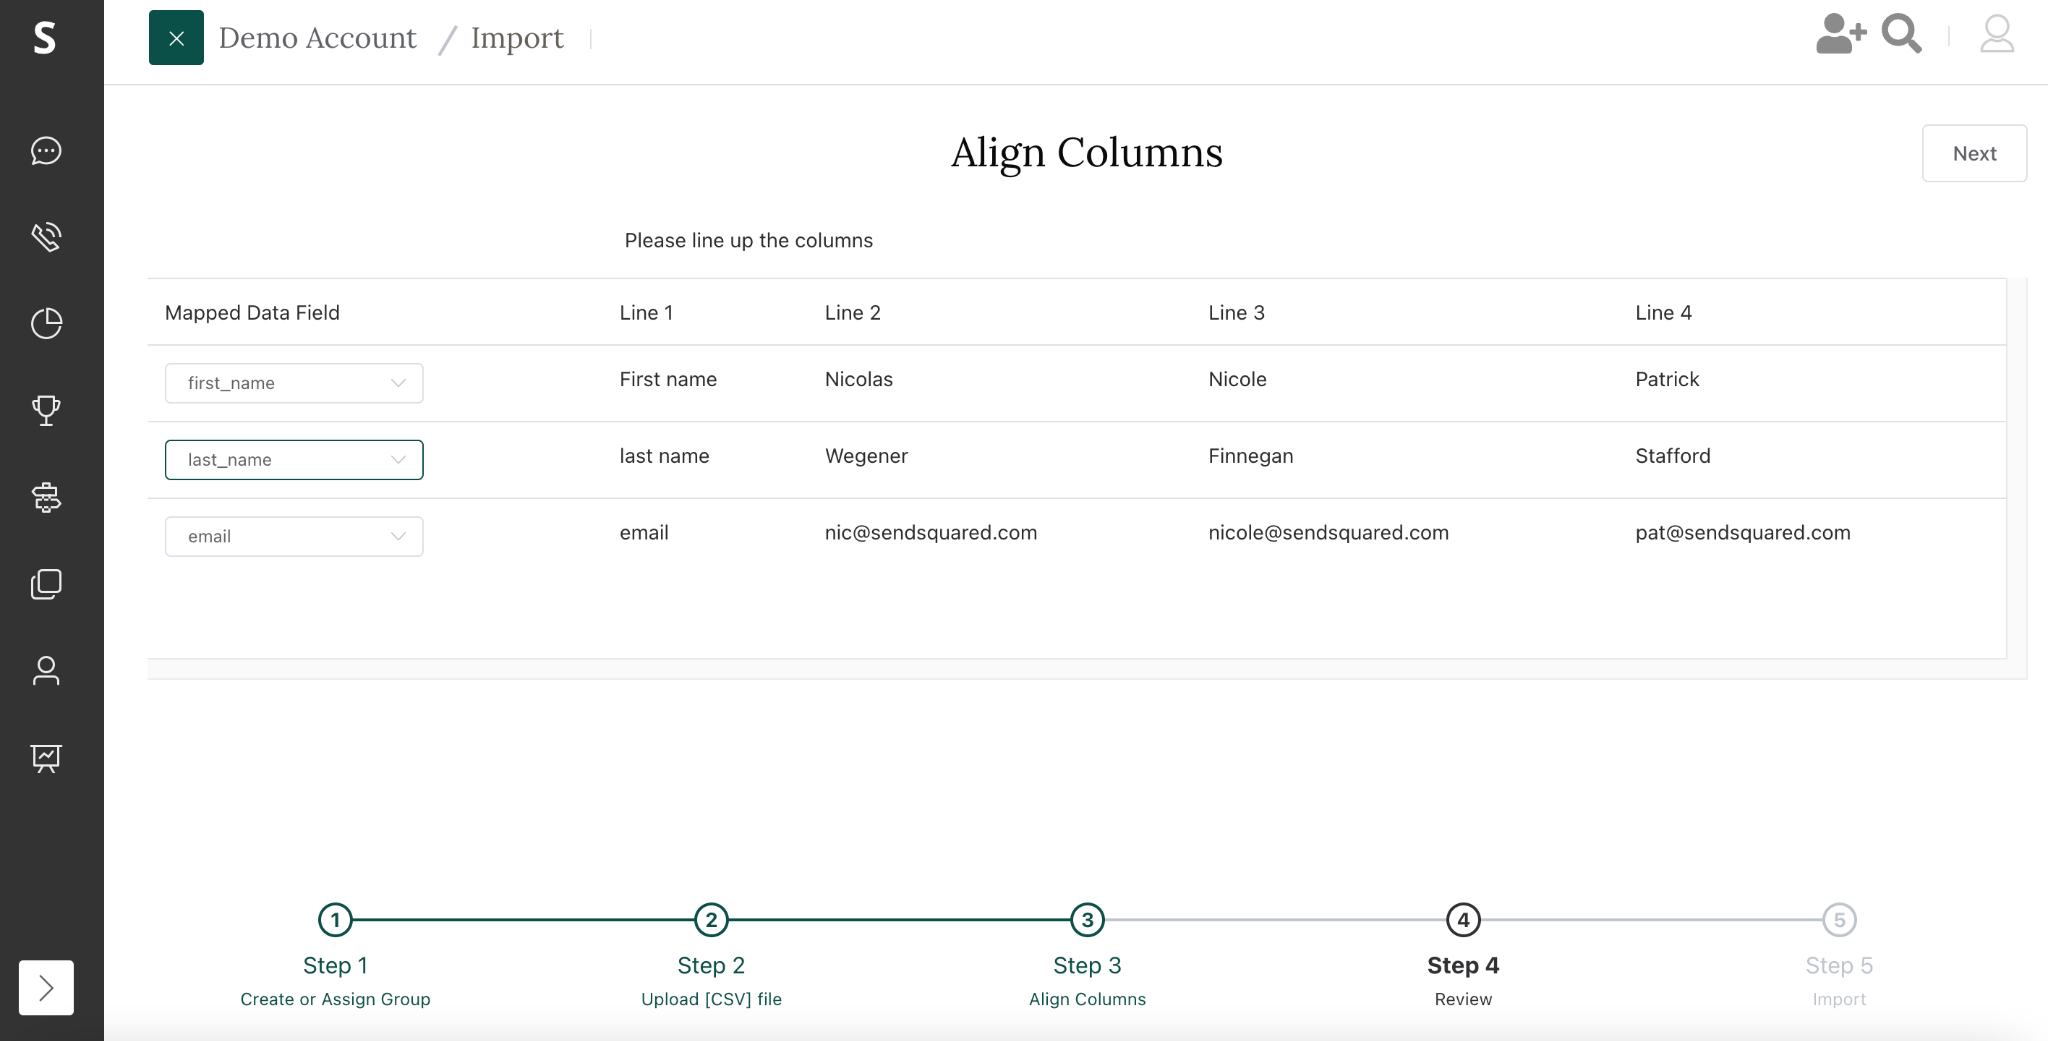
Mapping Contact Fields
After uploading, you'll need to map the columns in your CSV file to SendSquared contact fields:
- Review the data preview showing rows from your CSV file
- For each column, select the appropriate SendSquared field from the dropdown menus
- Common fields include:
- First name
- Last name
- Mobile phone
- Address fields
- Click Next when all fields are mapped
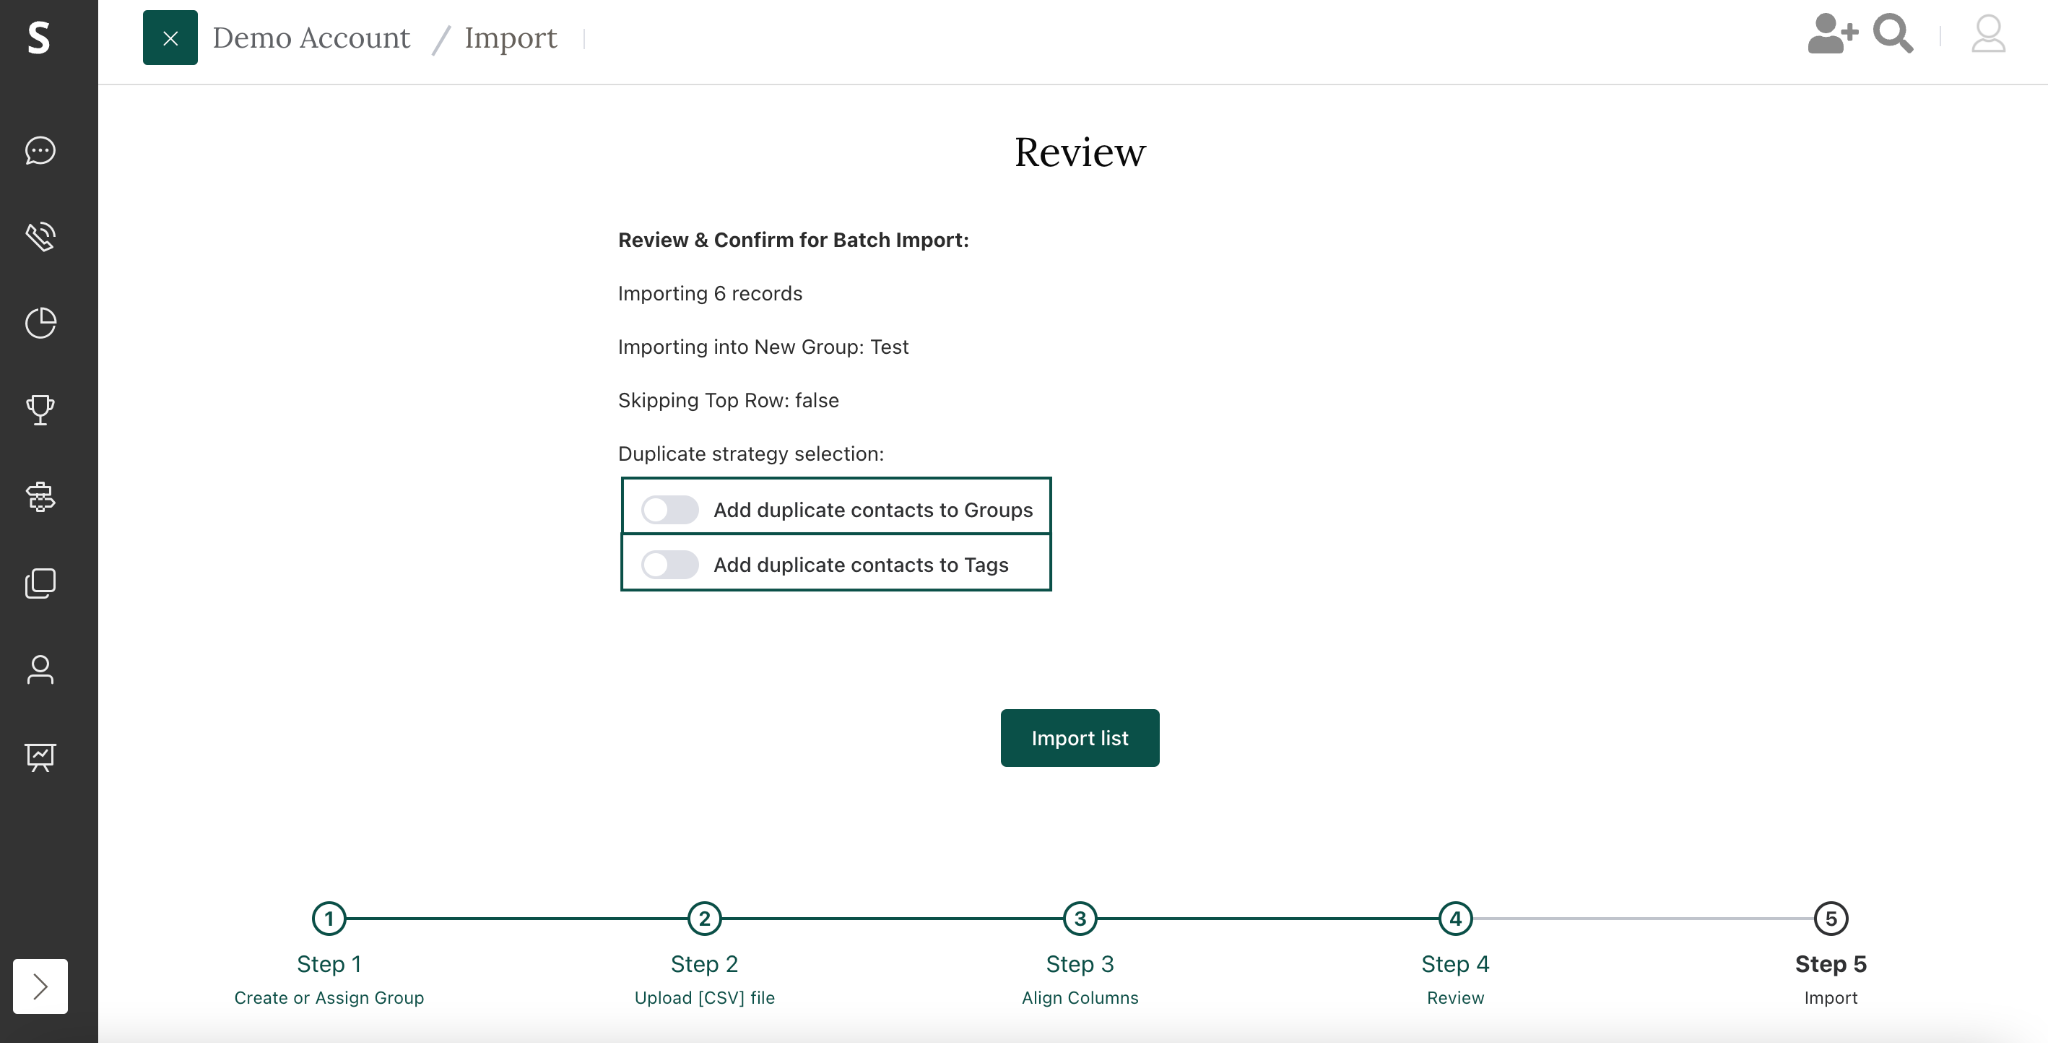
Review and Configure Import Options
Before finalizing your import, you'll have options to handle duplicate contacts:
-
Review the import details:
- Number of records being imported
- Target group for the imported contacts
- Any header row settings
-
Configure duplicate handling:
- Add duplicate contacts to Groups: Toggle on to allow contacts to exist in multiple groups
- Add duplicate contacts to Tags: Toggle on to apply tags to existing contacts
SendSquared automatically deduplicates contacts by email address. The duplicate options do not create duplicate contacts in the database but instead add existing contacts to groups or apply tags.
- Click Import List to begin the import process
Monitoring Import Status
After starting the import:
-
Navigate to Global Settings → Import Status
-
You'll see a list of your imports with status indicators:
- Queued: The import is waiting to be processed
- In Progress: The import is currently being processed
- Finished: The import has completed
-
For completed imports, expand the row using the drop-down arrow to see:
- Number of records imported
- Number of duplicates found
- Any errors encountered
- Records that couldn't be parsed

Viewing Imported Contacts
Once your import is complete:
- Navigate to Audience → Groups
- Locate your newly created or updated group
- Click on the group name to view all contacts within that group
Best Practices for Contact Imports
Preparing Your CSV File
- Include a header row with column names
- Ensure email addresses are formatted correctly
- Use consistent formatting for phone numbers
- Separate first and last names into different columns
Managing Duplicates
- Use the "Add duplicate contacts to Groups" option when you want the same contact to appear in multiple groups
- Remember that enabling this option will show contacts as "duplicates" in the import report, but they will still be added to the specified group
Large Imports
- Break very large contact lists into multiple smaller files
- Process one file at a time to better track import progress
- Allow sufficient time for large imports to complete