Using the New Email Editor
This guide provides a walkthrough of the new SendSquared Email Editor, helping you create professional and branded email templates quickly and efficiently.
Accessing Email Templates
To get started with the new Email Editor:
- Navigate to Templates in the main menu
- Select Email Templates
This is where all your email templates are stored. You can organize them into folders for easy access and management.
Template Options
When creating a new email template, you have several options:
- Start with a blank template
- Choose a pre-designed template from the gallery
- Duplicate an existing template you've already created
Understanding Template Icons
- Red email icon: Templates created in the old email editor
- If duplicated, will create a copy in the old editor
- Green email icon: Templates created in the new email editor
- Indicates you're using the new editor's features
Starting with a Blank Template
When you create a blank template, it loads with basic block structures. You can then:
- Change these blocks
- Remove unwanted elements
- Edit content to match your needs
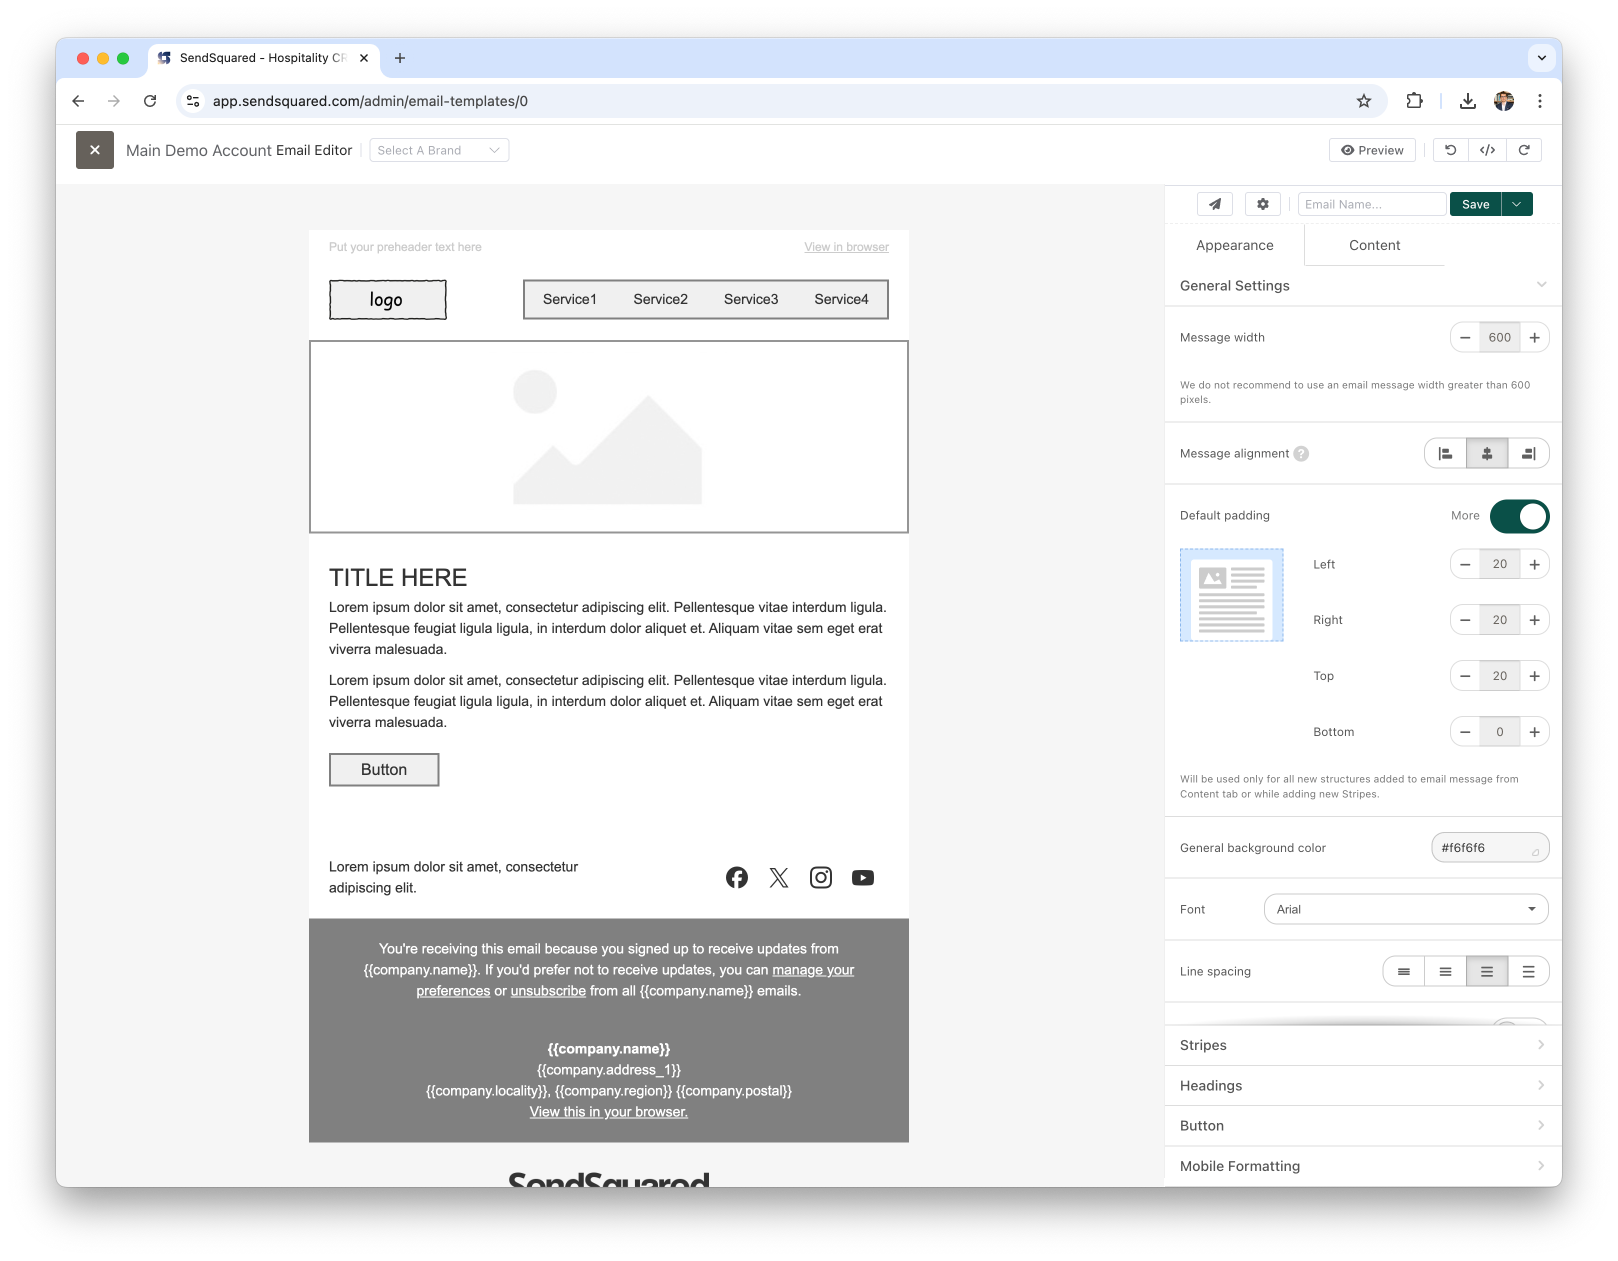
Customizing Email Appearance
Global Appearance Settings
- Select Appearance to modify the overall template design
- Adjust settings for:
- Background color (behind all blocks)
- Email padding and structure
- Default font family
- Background images
To add a background image:
- Toggle on the background image option
- Select or import your desired image
- The image will be saved in your library for future use
Setting Brand Standards
The appearance section includes categories for different elements:
- Headings
- Buttons
- Text
- Links
Setting these global appearance options creates a consistent brand experience across all emails. While you can override these settings for individual blocks, establishing default styles saves time when adding new content.
Editing Content Blocks
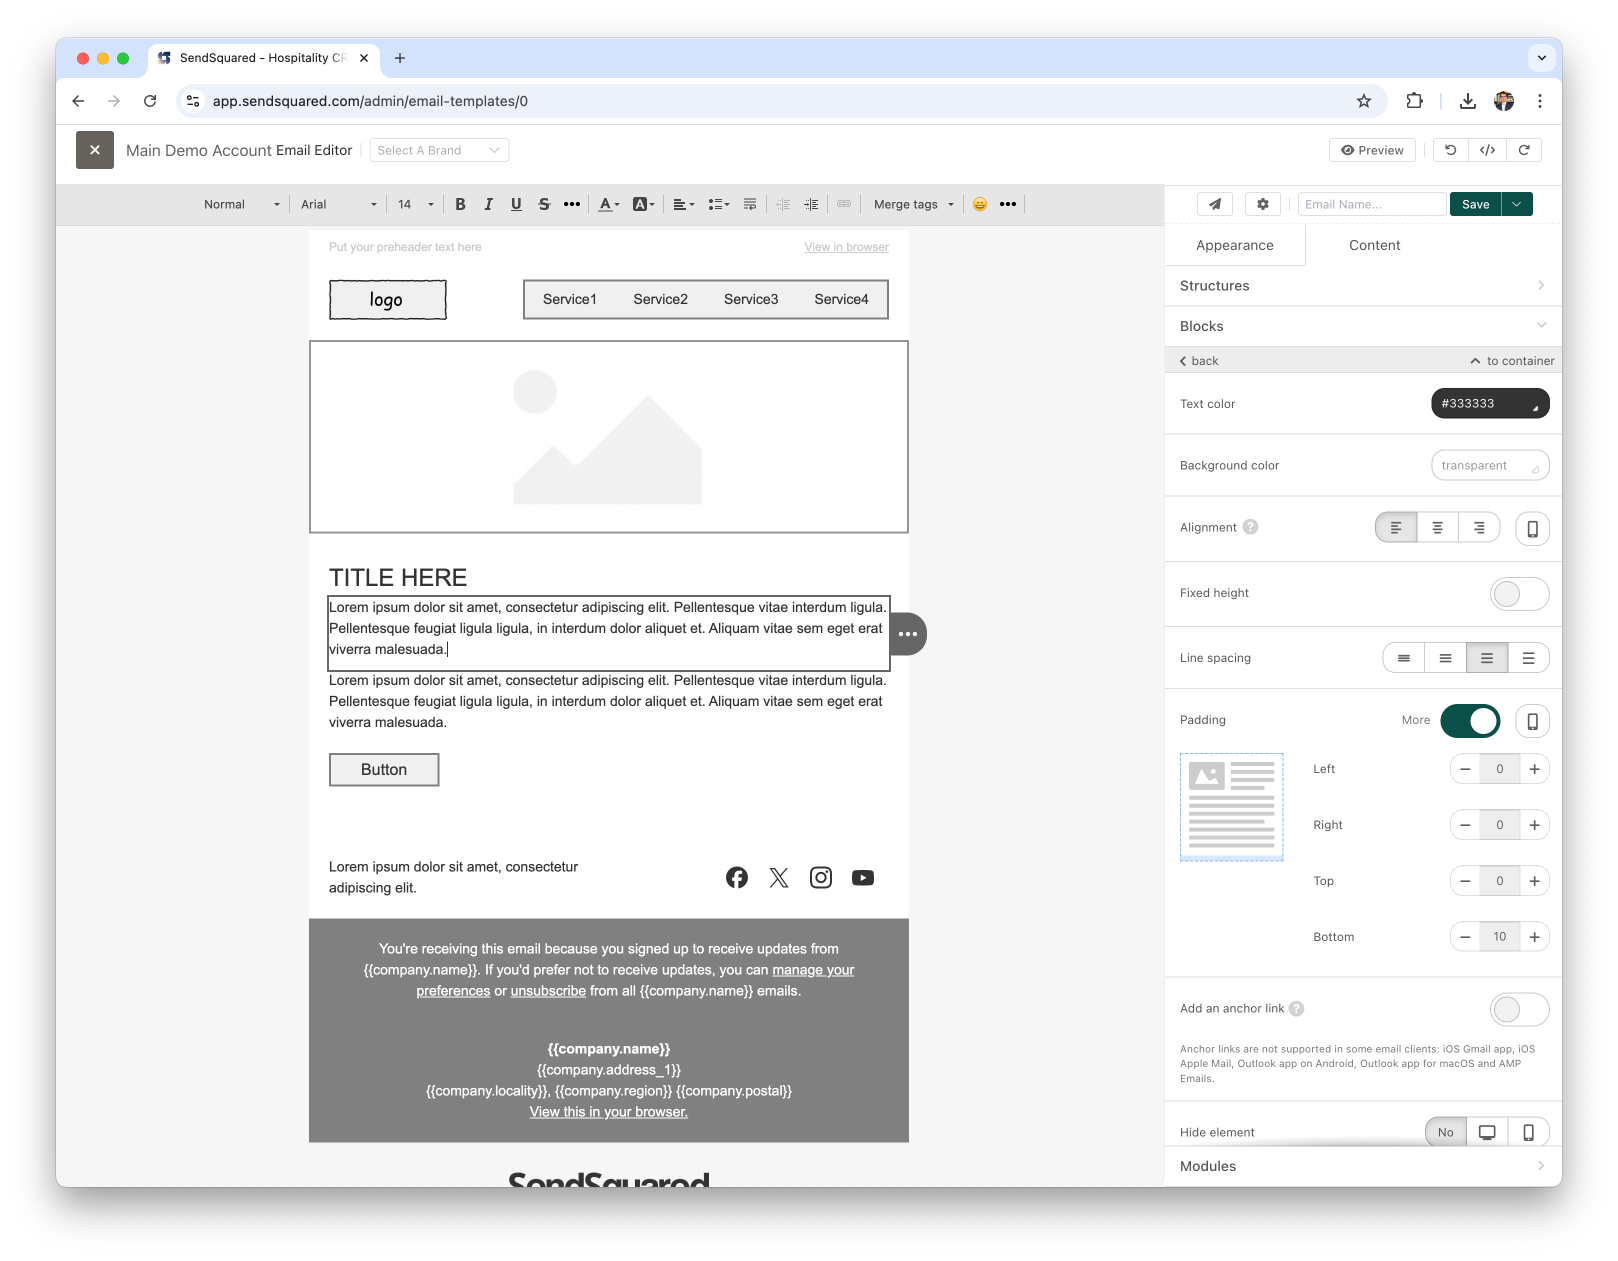
Modifying Existing Blocks
To edit content in existing blocks:
- Click directly on the content you want to change
- Edit text, images, or links as needed
- For buttons, you can modify the appearance and add your link under "Content-Blocks"
Adding New Content
To add new content to your template:
- Go to the Blocks section
- Select the type of content you want to add
- Drag it into the template where you want it to appear
- Click on the new block to edit its content and appearance
Managing Blocks
When working with blocks, you have several management options:
Deleting Blocks
- Hover over an entire row and select the trash icon to delete the whole row
- Hover over a specific content element to delete just that piece
Other Block Actions
- Duplicate: Create a copy of the block
- Move: Reposition the block within the template
- Convert to Module: Save a block for reuse across multiple templates
Creating and Using Modules
Modules allow you to save and reuse sections of your templates, such as headers or footers.
To create a module:
- Hover over a block you want to save
- Click the download button
- In the module section, give your module a memorable name
- Click Save at the bottom
To use a saved module:
- Navigate to the modules section
- Select your saved module
- Drag and drop it into your email template
Additional Editor Features
Undo/Redo
- Use the undo and redo buttons to step backward or forward through your changes
- Note that each individual change will be undone/redone
HTML Editing
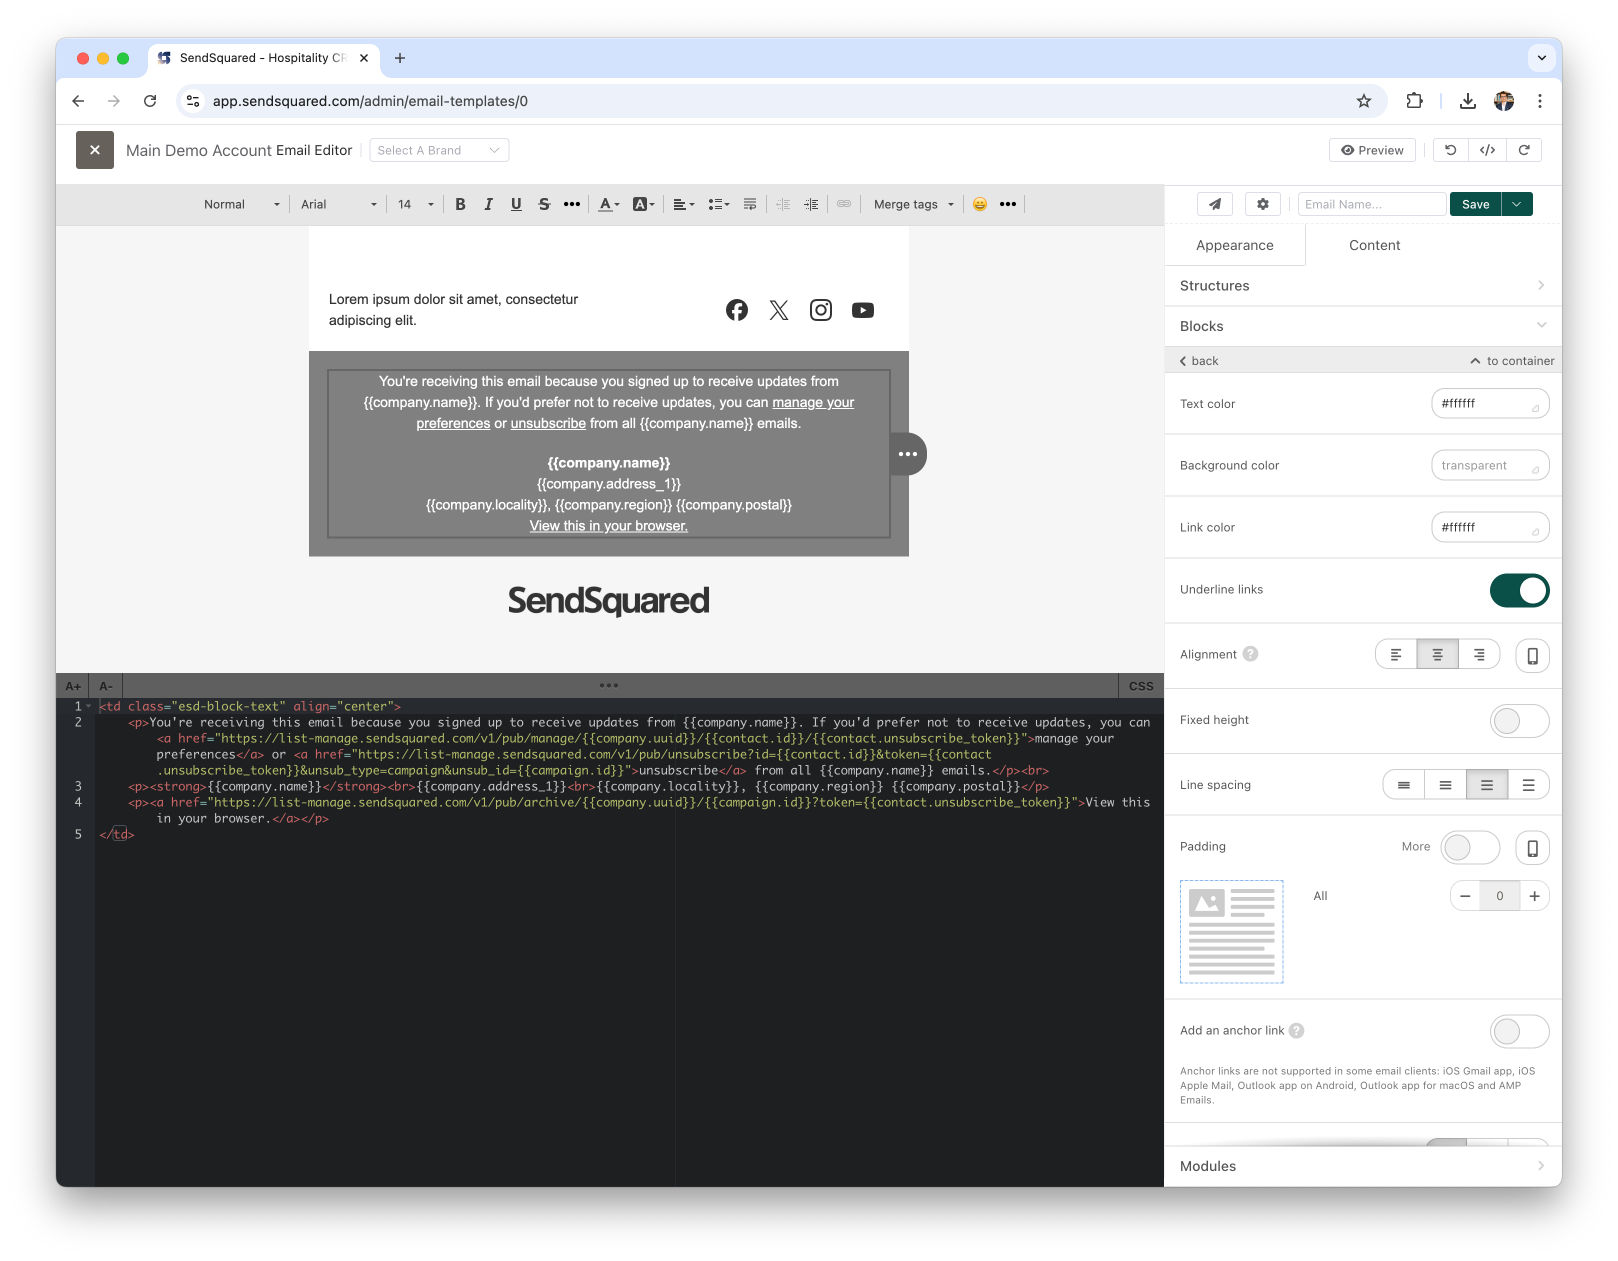
- Select the HTML option to directly edit your template's code
Email Settings
To configure your email settings:
- Click the Settings button
- Add your template name
- Set your subject line
- Create your preview text
Testing Your Email
Before finalizing your template:
- Click the paper airplane icon
- Add your email address and select Add to test list
- Click Quick send or Send to all
You can also use the preview button to see how your email will appear on both desktop and mobile devices.
Saving Your Work
Always click the Save button to preserve your template changes.
Next Steps
Once you've created your email template, you can use it to send a campaign. For guidance on this process, please reference "Sending a Campaign: A Comprehensive Training Video."
For any questions or assistance with the Email Editor, please contact support@sendsquared.com.